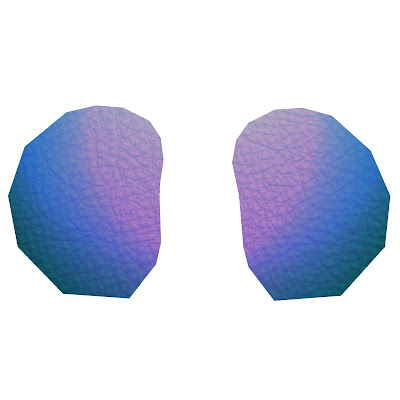
CREATING SKIN SHADERS USING DISPLACEMENT MAPS AND SUB SURFACE SCATTERING
My purpose for this research is to get my head around building my own shaders, especially using displacement maps and sub surface layers. To help me create my skin surface for my sausage character for my rig. Starting on basic skin I feel is the best approach and then once I have perfected it move onto my
sausage texture for my model.
First I got hold of lots of deep scan data from "infinite realities" including displacement maps and specular roughness map.
Displacement map
Map I used for Specular roughness
Then it was a case of about 2 hours in maya fiddling about with the Arnold standard surface shader. My huge improvement here is my ability to use the Hypershade window to good effect, previously I bumbled around in the attribute editor but now I have got my head around the hypershade I find it a complete revelation as it is just so easy to see the network of nodes I am are creating, and it is a really methodical visual way of working.
I did 7 major passes over my model to create my final skin shader and so threw them in after effects to make it a better visual way to see the stages in a little video.
In reflection it is not perfect but I am very happy with the displacement and it has opened up a lot of options for me to add the wrinkles and pitting needed for my sausage skin, also
In reflection it is not perfect but I am very happy with the displacement and it has opened up a lot of options for me to add the wrinkles and pitting needed for my sausage skin, also
building my surface in layers which will be invaluable for my sausage
meat sub surface variations.
meat sub surface variations.
THIS IS A GUIDE I USE FOR SKIN CREATION IT IS A HANDY REFERENCE CHECKER
and shading experiment
In this exercise I did not waste time getting UV map seams perfect, and I modelled the sausage in 10 minutes, it was purely a trial about making my own textures in Ps and applying them to a standard surface shader and playing about with the parameters to see what layered effect I could create. I am very happy with the blood like effect coming from the deep sub surface layer, and dare I say it the maggots in the flesh appeal to me too. There is a lot from this few hours experimenting process that I can confidently take into my final modelling process for my character.
SHADERS FOR BIRD CHARACTERS
HERE IS JUST A SMALL COLLECTION OF THE SHADERS, UV MAPS, BUMP MAPS, DISPLACEMENT MAPS, ETC THAT I HAVE MADE TO USE BE
USED ON MY BIRD MODELS.
ALL OF MY UV MAPS ARE MADE BY MYSELF IN PHOTOSHOP USING SOFT BRUSHES AND GRADIENT OVERLAYS.
EYE UV MAPS
SKIN BUMP MAPS
BEAK WITH LIPSTICK UV MAP
HERE IS JUST A SMALL COLLECTION OF THE SHADERS, UV MAPS, BUMP MAPS, DISPLACEMENT MAPS, ETC THAT I HAVE MADE TO USE BE
USED ON MY BIRD MODELS.
ALL OF MY UV MAPS ARE MADE BY MYSELF IN PHOTOSHOP USING SOFT BRUSHES AND GRADIENT OVERLAYS.
EYE UV MAPS
BEAK VECTOR DISPLACEMENT MAPS
EYE CONTOUR UV MAP
BUTTON BUMP MAPSSKIN BUMP MAPS
EYE UV MAP
BEAK WITH LIPSTICK UV MAP
BOW UV AND BUMP MAP
EYE UV
SKIN CRACK DISPLACEMENT MAP
EYE CONTOUR BUMP MAP
FABRIC BUMP MAP
SKIN BUMP MAP
FABRIC DISPLACEMENT MAP
SSS SKIN UV MAP
DIFFUSE SKIN UV SHADER
SACK UV MAP
SACK DISPLACEMENT MAP
SACK ALPHA MASKATTACHED TO ARNOLD OPACITY VALUE NODE TO MASK OPACITY
OF BELOW SHADER TO CREATE FRAYED EDGES AS SEEN BELOW
STOP TO THIS BLOG
Through speaking with tutors on the content of this production blog and its subsequent size I am stopping this textures and shaders blog here before it gets out of hand in its size.
Lets just say there are hundreds more images like these as I have made, tried, tested, and used hundreds of textures and shaders on this project.


No comments:
Post a Comment